Publish on-Sep,6,2024
The Ultimate Guide to Iron-On Custom Patches
Custom patches have always been a popular way to add personality, style, and branding to
various items. One of the most convenient and versatile types of patches is the iron-on patch.
Easy to apply and long-lasting, they’re a favorite for those looking to add a creative touch to
their clothing or accessories. In this guide, we’ll dive into the step-by-step process of applying
iron-on patches, offer tips for the best results, and explore creative ways to make the most out of
your custom designs.
What Are Iron-On Custom Patches?
Iron-on patches come with a heat-activated adhesive on the back, allowing them to bond securely
with fabric when pressed with an iron. These patches are perfect for customizing a variety of
garments, from jackets and jeans to tote bags and hats. Whether you’re looking to display your
brand, create team uniforms, or simply showcase your artistic side, iron-on patches offer a fast
and simple solution.
How to Apply Iron-On Patches: Step-by-Step?
1. Check Fabric Compatibility
Before applying your patch, it’s important to make sure the fabric can handle the heat required
for the adhesive to activate. Natural fabrics like cotton and denim work best, while materials
such as nylon, leather, or polyester may require more caution. Always check the garment label
for specific care instructions.
2. Gather Your Materials
You’ll need:
- Your custom iron-on patch
- A garment or accessory to apply it to
- A clean, flat surface
- A household iron
- A pressing cloth (such as a cotton pillowcase or tea towel)
3. Preheat the Iron
Set your iron to the “cotton” setting, which is typically around 270°F. Be sure to turn off the
steam function, as moisture can interfere with the adhesive bonding process. For more delicate
fabrics, opt for a lower heat setting and a longer press time.
4. Position the Patch
Carefully place the patch on your garment where you’d like it to be applied. Use a ruler or tape
measure to ensure it’s aligned correctly, especially if you’re adding multiple patches.
5. Press the Patch
lace a pressing cloth over the patch to protect it from direct heat. Firmly press the iron onto the
cloth and patch for about 30-40 seconds, applying steady pressure. Avoid moving the iron
around, as this can cause the patch to shift. Once done, flip the garment inside out and press the
back of the fabric for another 20-30 seconds to reinforce the bond.
6. Let It Cool
Allow the patch to cool completely before handling the garment. This ensures the adhesive has
fully set and prevents any accidental peeling. Once cool, check the edges to ensure they’re
securely attached. If any parts seem loose, repeat the pressing process.
Extra Tips for Better Results
Use Parchment Paper
For heat-sensitive fabrics, place a sheet of silicone-coated parchment paper between the patch
and the iron. This helps protect the fabric from potential scorching while still allowing the
adhesive to bond.
Reinforce with Stitching
If the patch is placed in a high-wear area (like the knee of pants or a backpack), consider
stitching around the edges after ironing. This will provide extra security and prevent the patch
from peeling over time
Creative Ideas for Using Iron-On Patches
Iron-on patches are not only practical but also offer countless creative possibilities. Here are a
few ideas for incorporating patches into your wardrobe and accessories:
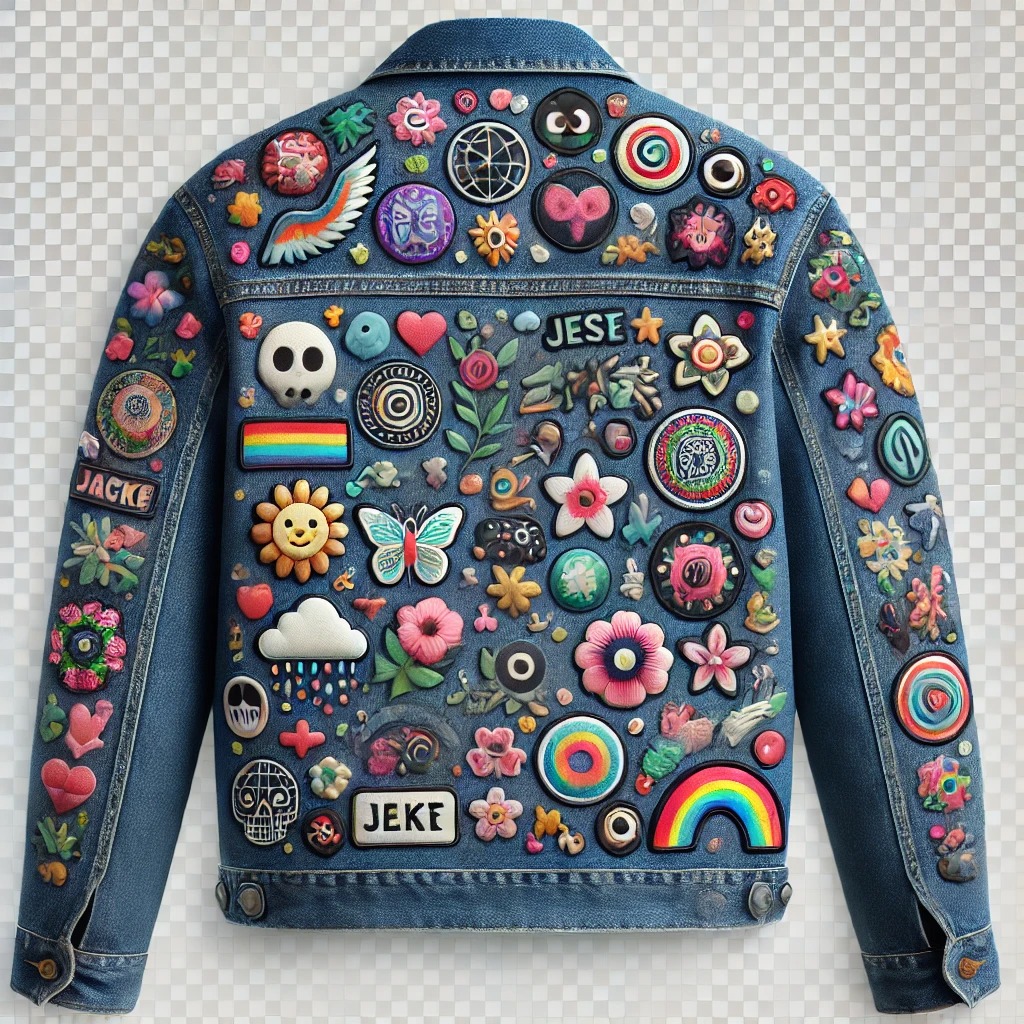
1. Personalize Denim Jackets and Jeans
Denim is one of the best materials for iron-on patches. Add patches to the back of a denim jacket
or the pockets of your jeans for a trendy, personalized look

2. Brand Your Team Uniforms or Workwear
If you’re looking to create a cohesive look for your sports team, club, or company, custom
patches are a great way to add branding to uniforms. Choose patches that feature your logo or
team emblem for a professional touch.

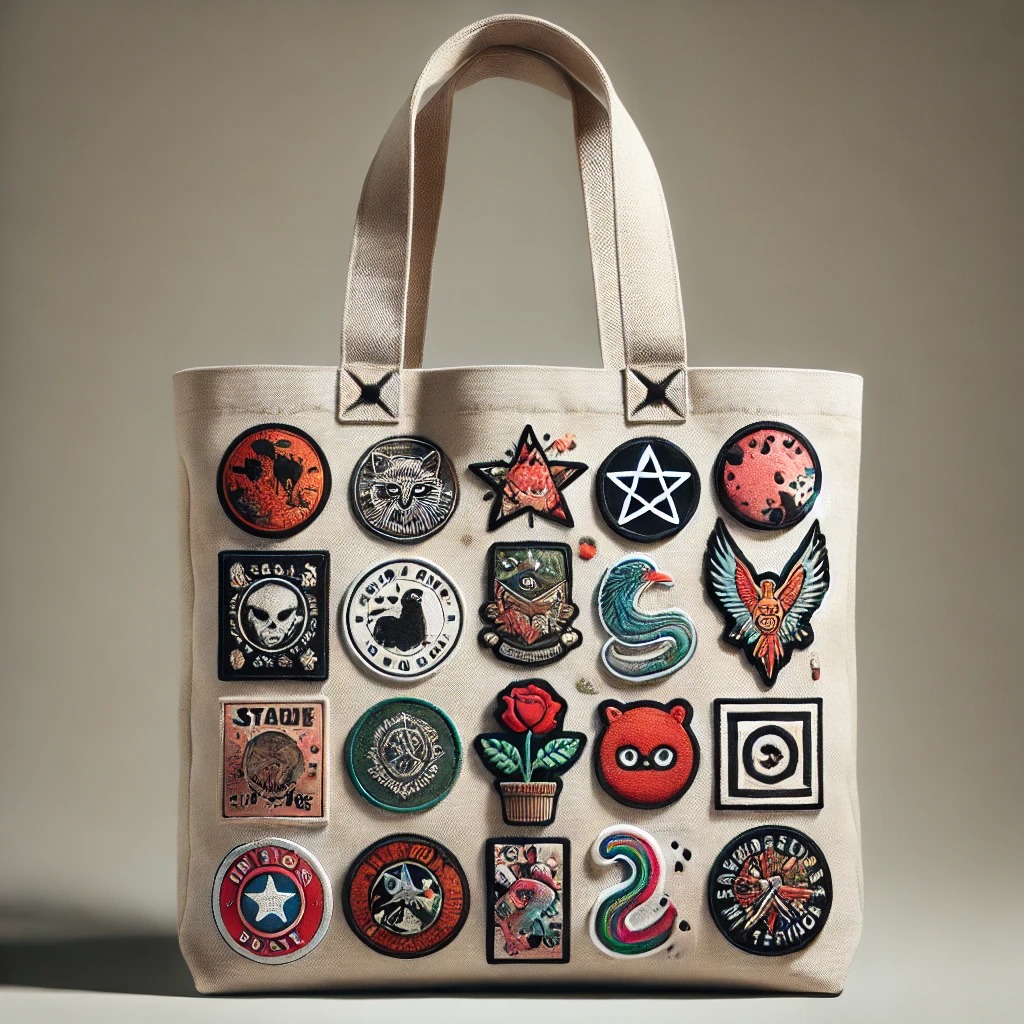
3. Decorate Tote Bags and Backpacks
Make your everyday accessories stand out by adding fun patches to tote bags, backpacks, or even
canvas shoes. Patches are perfect for expressing individuality and creativity.

4. Iron-On Patches for Event Merchandise
Hosting an event or celebration? Create custom patches as a unique keepsake or giveaway item.
From festivals to corporate events, patches are a great way to commemorate the occasion

Caring for Your Iron-On Patches
Iron-on patches are durable, but a little extra care can extend their lifespan:
- Wash on Gentle Cycles: Turn garments inside out and use cold water to help preserve
the adhesive bond. - Avoid Direct Heat: Don’t put patch-decorated items in the dryer, as the heat can weaken
the adhesive. Instead, air dry them whenever possible. - Reinforce If Necessary: Over time, edges may begin to lift. Simply reapply heat or add a
few stitches to keep your patch securely in place.
Why Choose Iron-On Over Sew-On?
Iron-on patches are a great option for those looking for a quick and easy application process.
While sewing patches offer a permanent solution, ironing is much faster and requires no special
skills. If you plan on frequently washing or wearing the item, however, a combination of both
methods may provide the best results.
Conclusion
Iron-on patches are an incredibly versatile and convenient way to customize your clothing and
accessories. With just a little effort, you can transform everyday items into unique, personalized
pieces. Whether you’re making a fashion statement, promoting your brand, or adding a fun detail
to your wardrobe, the possibilities are endless with custom iron-on patches
